Our very first post...Okay... here goes noth'n!
Now... lets get down to business!
We made the cutest little hearts with wire photo clips. Here is step by step instructions on how to make them!
1. Cut, sand and paint the wood hearts. We just painted the back and sides because we covered the front with paper.
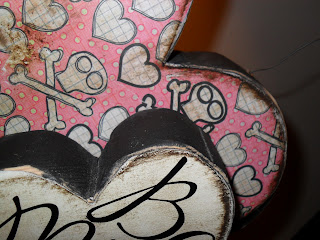
2. Trace, cut and modpodge your paper of choice onto the front of your hearts.
3. We always sand the paper after the modpodge dries, we sand the edges so we get a nice distressed feel. Don't be afraid to sand the edges of the wood too. It looks awesome when everything is sanded. We usually use distress ink too. We love the distressed look!
4. Because there are two hearts, you can choose to keep them separate or hot glue them together. (NOTE: if you glue them, be careful cause the hearts are slanted and you need the hearts to keep everything balanced. I learned this the hard way. I glued my little heart to my big one and it just kept falling over. I had to pull off heart, which wasn't pretty!)
5. Add your "Be Mine". We used vinyl cause Tarah is the coolest vinyl lady in town, and I just happen to be related! Ha!
6. You'll want to mark your drill marks for the wire. We did four holes.
7. Cut your wire and wrap the edge around a pencil three or four times. Loosen the curls up making them big to small, then pinch them together with needle-nose pliers. Glue the wire into the holes.
Now... you're done! Wasn't that simple!
The cool thing about having three of us do these projects is you can see how different our tastes are. We're all so alike, but oh so different!
 |
| This is Tarah's. She did a patch-work type thing on it and didn't glue her hearts together! |
 |
| This one is mine! |


